How to Make the Sky Blue in Photographs With Paint Shop Pro
Modify, Remove, Erase or Change the Sky with Corel Paint Shop Pro
How to make the sky blue | How to fix the sky | Graduated filter | Hazy dull landscape | Background removal | Image transparency
This tutorial outlines two methods to modify the sky in a photographic image by either:
- erasing the sky to create transparency, then adding a stock background to replace the sky
- modifying the sky by applying a graduated filter effect
Of course, these methods can be applied to any area in your image and are not confined to just skies.
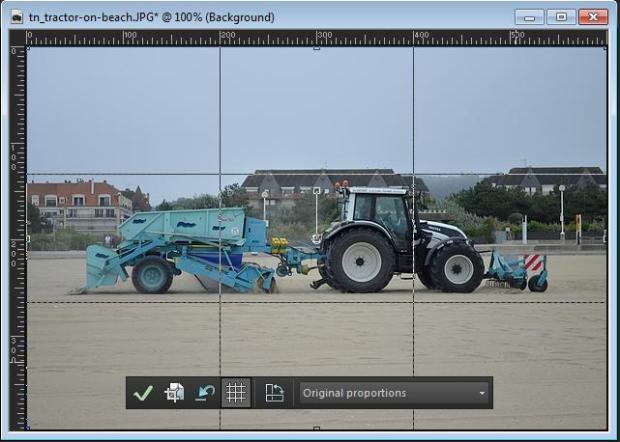
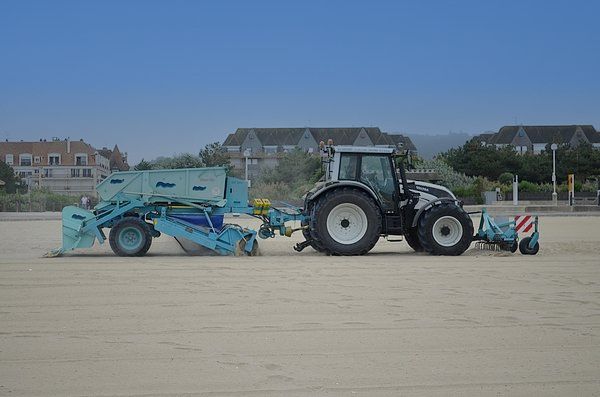
For the basis of these tutorials, the following image will be used for modification. The sky is pretty lackluster due to the haze and fog on the morning that I took this picture.
1. Erasing the Sky to Create Transparency
For this exercise, you will need:
- A copy of your original image
- A stock background picture
1. Create a folder and put both image files in that directory.
2. Launch Corel PaintShop Pro and select the Edit tab.
3. Go to Window > Tabbed Documents and ensure it is un-ticked.
4. Go to File > Open… and navigate to the contents of your folder.
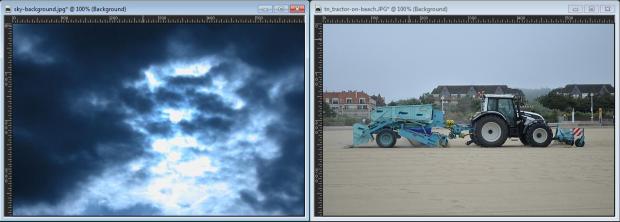
5. Select both image files at once by left-clicking the first one, then holding down Ctrl and left-clicking the other file. Click Open when both files have been highlighted. Both photographs will be displayed in your Workspace.
6. If the two images are not the same size, it is important to crop the larger image to the exact same size as the other. If both your images are the exact same size you can proceed to Step 9.
How to Crop An Image to the Same Size as Another | Corel PaintShop Pro
7. Select the smaller of the two images. Select the Crop tool. Select Original proportions from the Crop tool’s drop-down menu. The crop tool marquee will encompass the exact dimensions of your image. Select the green tick to crop the image. Of course, the image will remain the same size but the purpose of this step is to register that photograph’s dimensions with Corel PaintShop Pro.
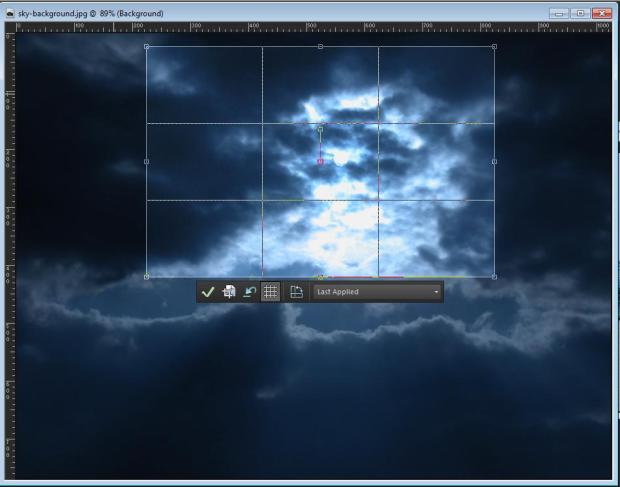
8. Now click the larger image and then the Crop tool. This time, select Last applied from the Crop tool’s drop-down menu. A marquee, the same size as your smaller image, will be displayed inside your larger one. Move the marquee around to frame an area in that image that you would like to keep. Click the green tick to crop the image.
Both your photographs will now be the same size.
9. Select the photograph for modification – in this case, the original shot of the tractor.
10. Go to Selections > Select All (or press Ctrl + a). Dotted white lines will appear around the edge of your image. Then, go to Edit > Copy (or press Ctrl + c).
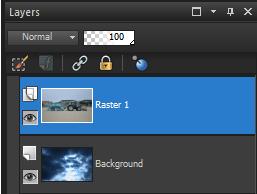
11. Click on your background image. Go to Edit > Paste As New Layer (Ctrl + L). A new raster layer will appear in the Layer Management Window.
Note: The background window still contains the background image, but it cannot be seen because a copy of your original photograph is sat on top of it.
12. Select the Background Eraser tool.
13. Select a suitable sized diameter brush for the eraser tool.
14. To create transparency in your original image and let the background show through, Left click and hold while brushing the sky area.
Note: Allow the area of the brush to overlap buildings, mountains etc… This mode has auto edge detection. However, don’t allow the center of the brush to cross these items, else the background image will bleed into unwanted areas of your image.
15. Right click and brush to undo any mistakes.
16. Once the bulk of the sky has been erased, the quality of the interface between sky and land can be improved by reducing the diameter of the brush and zooming into the image to continue brushing and creating the meld.
2. Apply A Graduated Filter To The Sky
1. Launch Corel PaintShop Pro and select the Edit tab.
2. Open the file you wish to work on by going to File > Open… and selecting the desired image.
3. Go to Layers > New Raster Layer… and give it a memorable name if you so wish like “My Sky Graduation”. Then click OK.
The new layer will appear in the Layers management window.
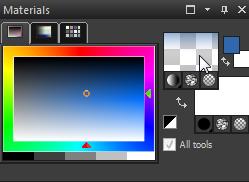
4. Go to the swatch tool and select the gradient option by clicking on the black circle and selecting the gradient option from the drop-down menu (2nd option).
5. Click on the transparency area to open Material Properties and create a new gradient fill.
6. Here, you can use a pre-made gradient or make a customized one. Select Edit and then New… and name your new gradient. Chose the foreground and back colors. And use the sliders to determine the amount of gradient applied.
7. Next, reduce the Opacity from 100% to a value like 50%. Then select Close and Close the Material Properties box.
8. Select the Flood tool (or press F). Click in the layered image to flood fill with your gradient.
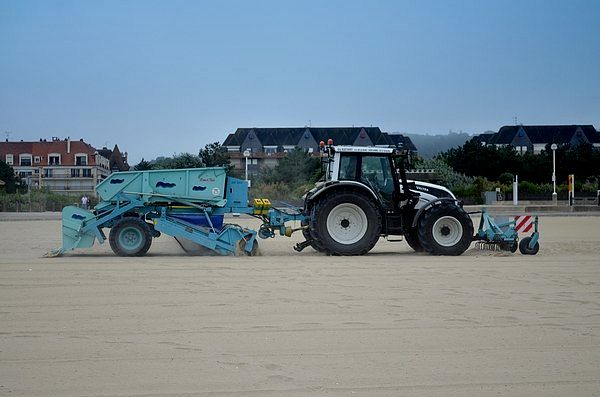
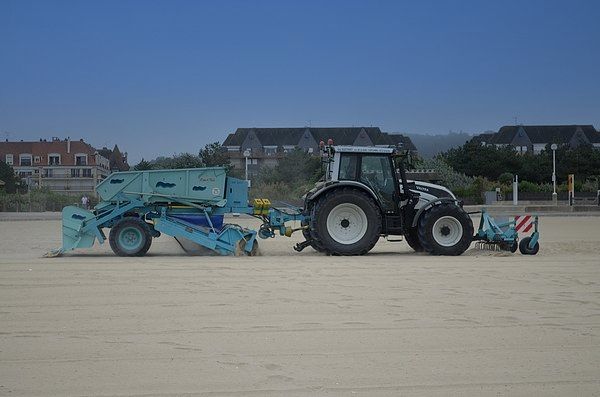
9. In the Layers management window, chose a blend method: Normal, Darken, Multiply or Burn to give the best desired effect for your picture.
The Original Image:
Different Blend Methods – But The Same Gradient Applied:







One comment
Comments are closed.